I heard that a new sample database has been created that pairs well with the latest SQL Server 2016. My attempts to find it has been futile. Should I find it, you will be the first to know.
However, you can check out or work with the new SQL Server with an existing sample, the
AdventureWorks2014. It is available on the CodePlex site.
Go here (
http://msftdbprodsamples.codeplex.com/releases) and download the highlighted database script. If you like you may try others on this site.
AdvWrks2014Install_00
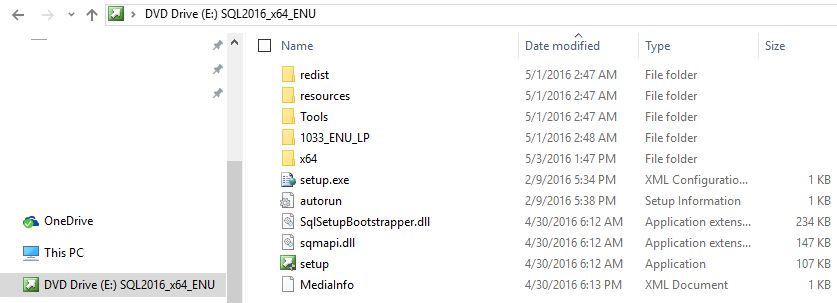
Download the script file to a location of your choice and extract the files.
Locate the script file as shown. The data files are .CSV files for each of the table in the database.
AdvWrks2014Install_001
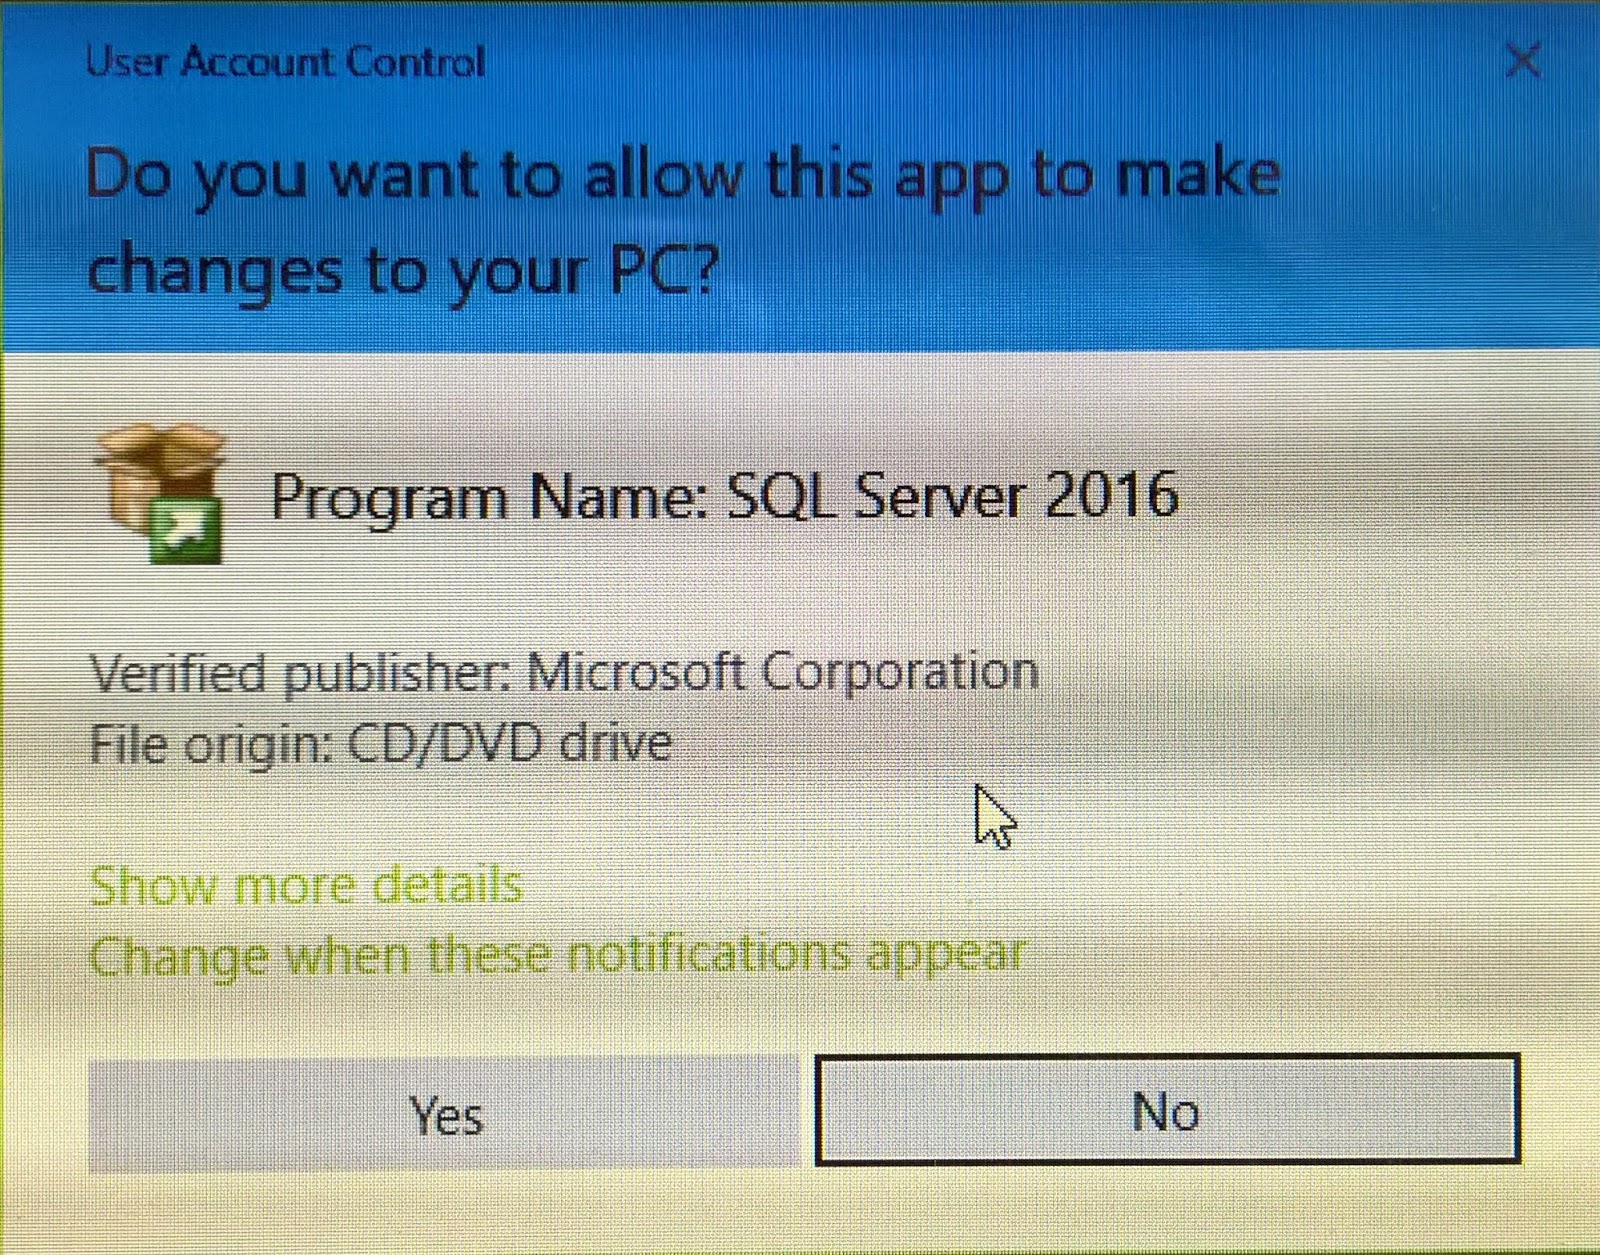
Launch SQL Server 2016 from its shortcut in
All Programs. You should launch it with administrator privileges, otherwise you may not succeed.
Click
File | Open | File...
AdvWrks2014Install_002
The file opens in a query pane as shown. You may need to scroll down to see the rest of the code. The original environmental settings statements are the following but in the next image they have been changed to reflect the downloaded location.
-------------------
:setvar SqlSamplesDatabasePath "C:\Program Files\Microsoft SQL Server\MSSQL12.MSSQLSERVER\MSSQL\DATA\"
-- NOTE: Change this path if you copied the script source to another path
:setvar SqlSamplesSourceDataPath "C:\Program Files\Microsoft SQL Server\120\Tools\Samples\Adventure Works 2014 OLTP Script\"
--------------------------------
AdvWrks2014Install_003
Step 1:
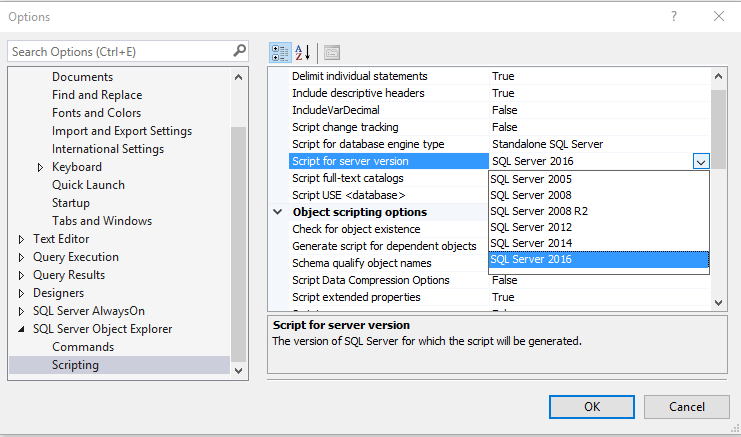
This is your starting point to run the script. But before you do it get the option to set it, so that it complies with SQL Server 2014 for scripting.
Click
Tools | Options... to open the
Options window. Scroll down to the end and expand the
SQL Server Object Explorer and click on
Scripting to reveal the various settings.
AdvWrks2014Install_004
Set the script for server version to
SQL Server 2014 the above drop-down and click OK..
Step 2:
If you ran the script at this point by highlighting the script in the query pane and clicking
Execute you would get an error:
AdvWrks2014Install_05
As the user database
AdventureWorks2014 does not exist in the instance of server you got this error.
Step 3:
Now look at the two lines in the downloaded script:
----
:setvar SqlSamplesSourceDataPath "C:\Program Files\Microsoft SQL Server\120\Tools\Samples\Adventure Works 2014 OLTP Script\"-- NOTE: Change this path if you copied the script source to another path:setvar SqlSamplesDatabasePath "C:\Program Files\Microsoft SQL Server\MSSQL12.MSSQLSERVER\MSSQL\DATA\"
------
The 'path' for the two lines should be set correctly otherwise you will end up with errors.
Herein two folders CSVData and Myscript are created in this
Program Files folder:
The
instawdb.sql is placed in the
Myscript and all the
.CSV files in the
CSVData folder.
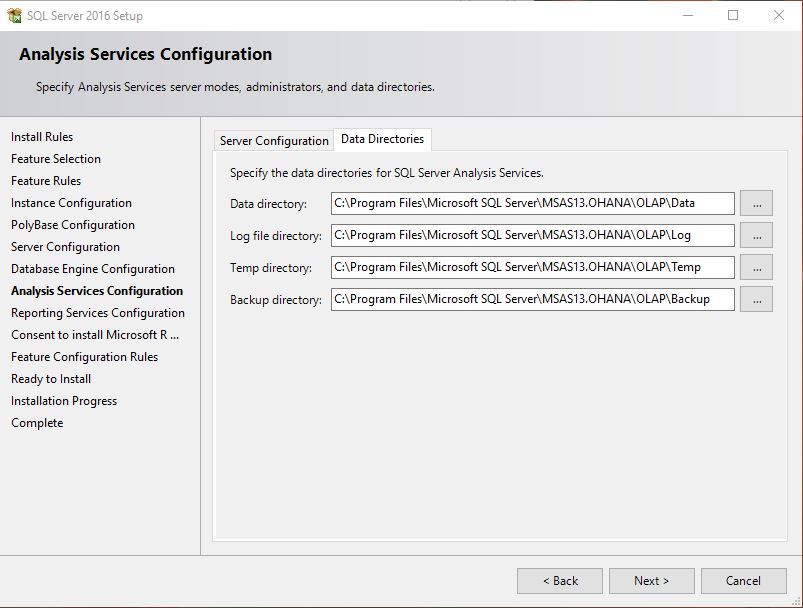
Replace the line with the path for the .CSV files in the download (a sample of this folder is shown in the second image above).
C:\Program Files\Microsoft SQL Server\130\Tools\CSVData
The
SqlSamplesSourceDataPath should be set to the path of the CSVData folder.
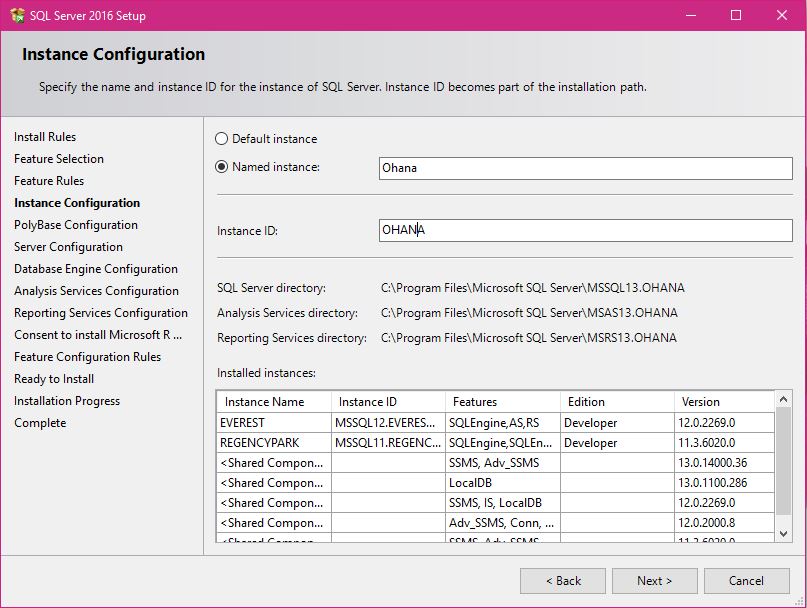
The
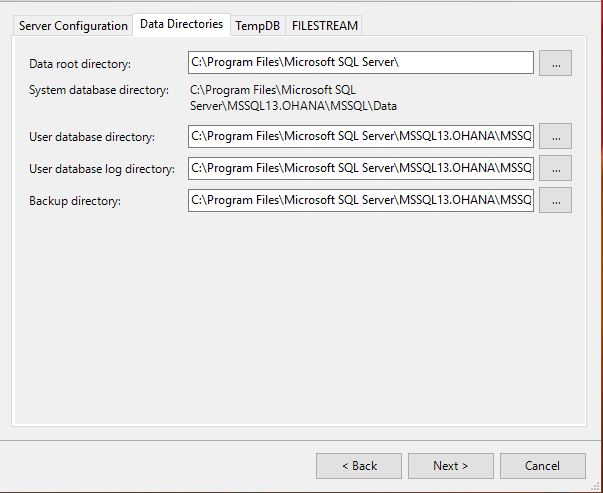
SqlSamplesDatabasePath should be set to the default database path for the instance you have created.
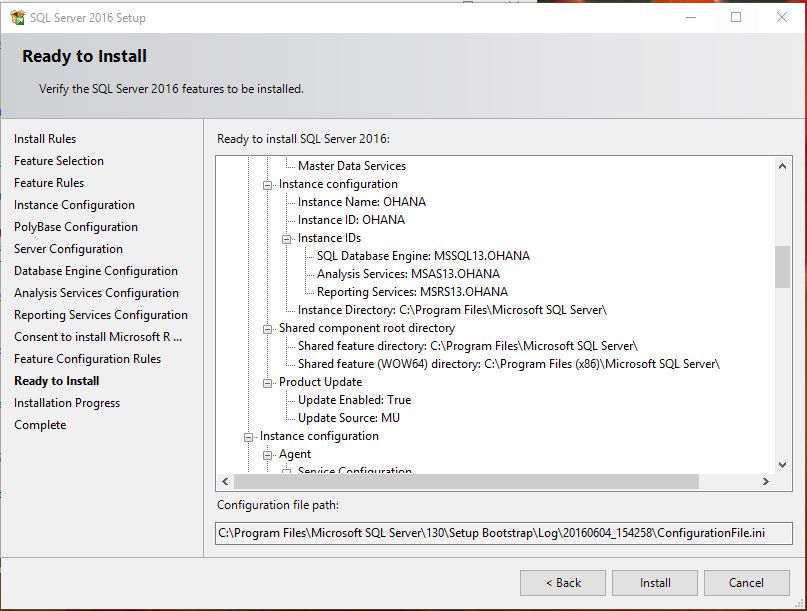
C:\Program Files\Microsoft SQL Server\MSSQL13.OHANA\MSSQL\DATA\
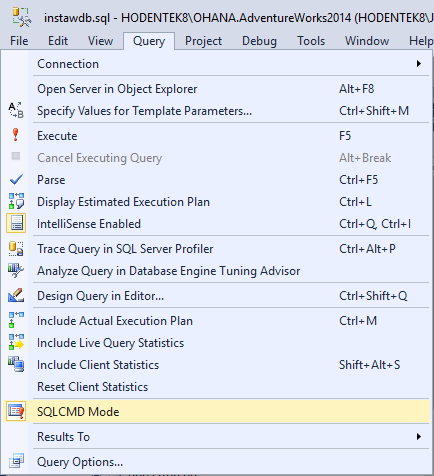
Now if you look at the script you would recognize it as executable as a
SQLCMD command. Change to SQLCMD mode as shown:
With these changes made to the script, click Execute after placing your cursor in the query pane.
The script is executed starting with creating all the tables followed by Bulk Loading of the tables. When it encounters an error, you get a message in the response as shown here:
---------------------------------------
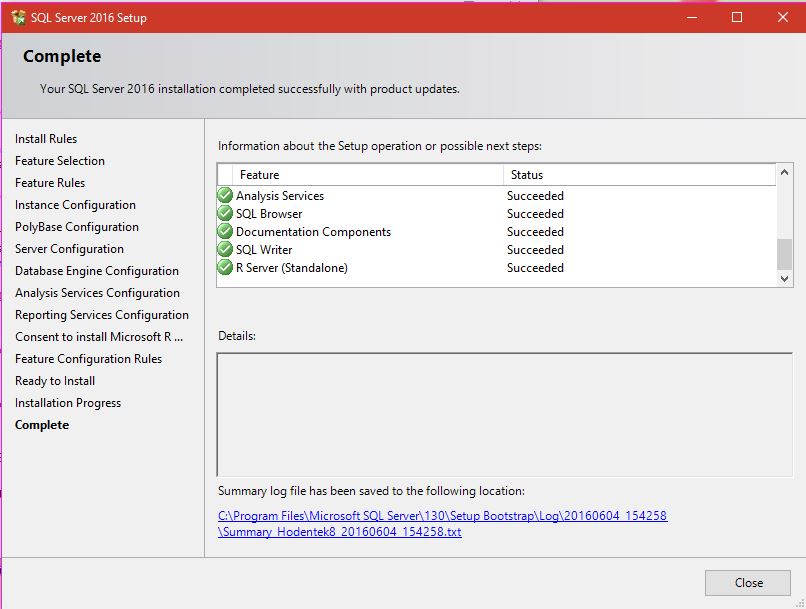
Microsoft SQL Server 2016 (RTM) - 13.0.1601.5 (X64)
Apr 29 2016 23:23:58
Copyright (c) Microsoft Corporation
Developer Edition (64-bit) on Windows 10 Pro Insider Preview 6.3 <X64> (Build 14342: ) (Hypervisor)
Started - 2016-06-10 17:25:24.430
*** Dropping Database
*** Creating Database
*** Checking for AdventureWorks2014 Database
*** Creating DDL Trigger for Database
*** Creating Error Log objects
CREATE_TABLE - dbo.ErrorLog
ALTER_TABLE - dbo.ErrorLog
CREATE_PROCEDURE - dbo.uspPrintError
CREATE_PROCEDURE - dbo.uspLogError
*** Creating Data Types
CREATE_TYPE - dbo.AccountNumber
CREATE_TYPE - dbo.Flag
CREATE_TYPE - dbo.NameStyle
CREATE_TYPE - dbo.Name
CREATE_TYPE - dbo.OrderNumber
CREATE_TYPE - dbo.Phone
*** Creating Pre-Table Database Functions
CREATE_FUNCTION - dbo.ufnLeadingZeros
*** Creating Database Schemas
CREATE_SCHEMA - HumanResources.HumanResources
CREATE_SCHEMA - Person.Person
CREATE_SCHEMA - Production.Production
CREATE_SCHEMA - Purchasing.Purchasing
CREATE_SCHEMA - Sales.Sales
*** Creating XML Schemas
Create AdditionalContactInfo schema
CREATE_XML_SCHEMA_COLLECTION - Person.AdditionalContactInfoSchemaCollection
ALTER_XML_SCHEMA_COLLECTION - Person.AdditionalContactInfoSchemaCollection
ALTER_XML_SCHEMA_COLLECTION - Person.AdditionalContactInfoSchemaCollection
Create Individual survey schema
CREATE_XML_SCHEMA_COLLECTION - Person.IndividualSurveySchemaCollection
Create Resume schema
CREATE_XML_SCHEMA_COLLECTION - HumanResources.HRResumeSchemaCollection
Create Product catalog description schema
CREATE_XML_SCHEMA_COLLECTION - Production.ProductDescriptionSchemaCollection
ALTER_XML_SCHEMA_COLLECTION - Production.ProductDescriptionSchemaCollection
Create Manufacturing instructions schema
CREATE_XML_SCHEMA_COLLECTION - Production.ManuInstructionsSchemaCollection
Create Store survey schema
CREATE_XML_SCHEMA_COLLECTION - Sales.StoreSurveySchemaCollection
*** Creating Tables
CREATE_TABLE - Person.Address
CREATE_TABLE - Person.AddressType
CREATE_TABLE - dbo.AWBuildVersion
CREATE_TABLE - Production.BillOfMaterials
CREATE_TABLE - Person.BusinessEntity
CREATE_TABLE - Person.BusinessEntityAddress
CREATE_TABLE - Person.BusinessEntityContact
CREATE_TABLE - Person.ContactType
CREATE_TABLE - Sales.CountryRegionCurrency
CREATE_TABLE - Person.CountryRegion
CREATE_TABLE - Sales.CreditCard
CREATE_TABLE - Production.Culture
CREATE_TABLE - Sales.Currency
CREATE_TABLE - Sales.CurrencyRate
CREATE_TABLE - Sales.Customer
CREATE_TABLE - HumanResources.Department
CREATE_TABLE - Production.Document
CREATE_TABLE - Person.EmailAddress
CREATE_TABLE - HumanResources.Employee
CREATE_TABLE - HumanResources.EmployeeDepartmentHistory
CREATE_TABLE - HumanResources.EmployeePayHistory
CREATE_TABLE - Production.Illustration
CREATE_TABLE - HumanResources.JobCandidate
CREATE_TABLE - Production.Location
CREATE_TABLE - Person.Password
CREATE_TABLE - Person.Person
CREATE_TABLE - Sales.PersonCreditCard
CREATE_TABLE - Person.PersonPhone
CREATE_TABLE - Person.PhoneNumberType
CREATE_TABLE - Production.Product
CREATE_TABLE - Production.ProductCategory
CREATE_TABLE - Production.ProductCostHistory
CREATE_TABLE - Production.ProductDescription
CREATE_TABLE - Production.ProductDocument
CREATE_TABLE - Production.ProductInventory
CREATE_TABLE - Production.ProductListPriceHistory
CREATE_TABLE - Production.ProductModel
CREATE_TABLE - Production.ProductModelIllustration
CREATE_TABLE - Production.ProductModelProductDescriptionCulture
CREATE_TABLE - Production.ProductPhoto
CREATE_TABLE - Production.ProductProductPhoto
CREATE_TABLE - Production.ProductReview
CREATE_TABLE - Production.ProductSubcategory
CREATE_TABLE - Purchasing.ProductVendor
CREATE_TABLE - Purchasing.PurchaseOrderDetail
CREATE_TABLE - Purchasing.PurchaseOrderHeader
CREATE_TABLE - Sales.SalesOrderDetail
CREATE_TABLE - Sales.SalesOrderHeader
CREATE_TABLE - Sales.SalesOrderHeaderSalesReason
CREATE_TABLE - Sales.SalesPerson
CREATE_TABLE - Sales.SalesPersonQuotaHistory
CREATE_TABLE - Sales.SalesReason
CREATE_TABLE - Sales.SalesTaxRate
CREATE_TABLE - Sales.SalesTerritory
CREATE_TABLE - Sales.SalesTerritoryHistory
CREATE_TABLE - Production.ScrapReason
CREATE_TABLE - HumanResources.Shift
CREATE_TABLE - Purchasing.ShipMethod
CREATE_TABLE - Sales.ShoppingCartItem
CREATE_TABLE - Sales.SpecialOffer
CREATE_TABLE - Sales.SpecialOfferProduct
CREATE_TABLE - Person.StateProvince
CREATE_TABLE - Sales.Store
CREATE_TABLE - Production.TransactionHistory
CREATE_TABLE - Production.TransactionHistoryArchive
CREATE_TABLE - Production.UnitMeasure
CREATE_TABLE - Purchasing.Vendor
CREATE_TABLE - Production.WorkOrder
CREATE_TABLE - Production.WorkOrderRouting
*** Loading Data
Bulk load: DataFileType was incorrectly specified as widechar. DataFileType will be assumed to be char because the data file does not have a Unicode signature.
Loading [Person].[Address]
Bulk load: DataFileType was incorrectly specified as widechar. DataFileType will be assumed to be char because the data file does not have a Unicode signature.
(19614 row(s) affected)
Loading [Person].[AddressType]
(6 row(s) affected)
Loading [dbo].[AWBuildVersion]
(1 row(s) affected)
Loading [Production].[BillOfMaterials]
(2679 row(s) affected)
Loading [Person].[BusinessEntity]
(20777 row(s) affected)
Loading [Person].[BusinessEntityAddress]
(19614 row(s) affected)
Loading [Person].[BusinessEntityContact]
(909 row(s) affected)
Loading [Person].[ContactType]
(20 row(s) affected)
Loading [Person].[CountryRegion]
(238 row(s) affected)
Loading [Sales].[CountryRegionCurrency]
(109 row(s) affected)
Loading [Sales].[CreditCard]
(19118 row(s) affected)
Loading [Production].[Culture]
(8 row(s) affected)
Loading [Sales].[Currency]
(105 row(s) affected)
Loading [Sales].[CurrencyRate]
(13532 row(s) affected)
Loading [Sales].[Customer]
(19820 row(s) affected)
Loading [HumanResources].[Department]
(16 row(s) affected)
Loading [Production].[Document]
(13 row(s) affected)
Loading [Person].[EmailAddress]
(19972 row(s) affected)
Loading [HumanResources].[Employee]
(290 row(s) affected)
Loading [HumanResources].[EmployeeDepartmentHistory]
(296 row(s) affected)
Loading [HumanResources].[EmployeePayHistory]
(316 row(s) affected)
Loading [Production].[Illustration]
(5 row(s) affected)
Loading [HumanResources].[JobCandidate]
(13 row(s) affected)
Loading [Production].[Location]
(14 row(s) affected)
Loading [Person].[Password]
(19972 row(s) affected)
Loading [Person].[Person]
(19972 row(s) affected)
Loading [Sales].[PersonCreditCard]
(19118 row(s) affected)
Loading [Person].[PersonPhone]
(19972 row(s) affected)
Loading [Person].[PhoneNumberType]
Msg 4864, Level 16, State 1, Line 2180
Bulk load data conversion error (type mismatch or invalid character for the specified codepage) for row 3, column 3 (ModifiedDate).
[ there were three rows of data in the CSV file but only two were transferred to the table] Loading [Production].[Product]
(504 row(s) affected)
Loading [Production].[ProductCategory]
(4 row(s) affected)
Loading [Production].[ProductCostHistory]
(395 row(s) affected)
Loading [Production].[ProductDescription]
(762 row(s) affected)
Loading [Production].[ProductDocument]
(32 row(s) affected)
Loading [Production].[ProductInventory]
(1069 row(s) affected)
Loading [Production].[ProductListPriceHistory]
(395 row(s) affected)
Loading [Production].[ProductModel]
(128 row(s) affected)
Loading [Production].[ProductModelIllustration]
(7 row(s) affected)
Loading [Production].[ProductModelProductDescriptionCulture]
(762 row(s) affected)
Loading [Production].[ProductPhoto]
(101 row(s) affected)
Loading [Production].[ProductProductPhoto]
(504 row(s) affected)
Loading [Production].[ProductReview]
(4 row(s) affected)
Loading [Production].[ProductSubcategory]
(37 row(s) affected)
Loading [Purchasing].[ProductVendor]
(460 row(s) affected)
Loading [Purchasing].[PurchaseOrderDetail]
(8845 row(s) affected)
Loading [Purchasing].[PurchaseOrderHeader]
(4012 row(s) affected)
Loading [Sales].[SalesOrderDetail]
(121317 row(s) affected)
Loading [Sales].[SalesOrderHeader]
(31465 row(s) affected)
Loading [Sales].[SalesOrderHeaderSalesReason]
(27647 row(s) affected)
Loading [Sales].[SalesPerson]
(17 row(s) affected)
Loading [Sales].[SalesPersonQuotaHistory]
(163 row(s) affected)
Loading [Sales].[SalesReason]
(10 row(s) affected)
Loading [Sales].[SalesTaxRate]
(29 row(s) affected)
Loading [Sales].[SalesTerritory]
(10 row(s) affected)
Loading [Sales].[SalesTerritoryHistory]
(17 row(s) affected)
Loading [Production].[ScrapReason]
(16 row(s) affected)
Loading [HumanResources].[Shift]
(3 row(s) affected)
Loading [Purchasing].[ShipMethod]
(5 row(s) affected)
Loading [Sales].[ShoppingCartItem]
(3 row(s) affected)
Loading [Sales].[SpecialOffer]
(16 row(s) affected)
Loading [Sales].[SpecialOfferProduct]
(538 row(s) affected)
Loading [Person].[StateProvince]
(181 row(s) affected)
Loading [Sales].[Store]
(701 row(s) affected)
Loading [Production].[TransactionHistory]
(113443 row(s) affected)
Loading [Production].[TransactionHistoryArchive]
(89253 row(s) affected)
Loading [Production].[UnitMeasure]
(38 row(s) affected)
Loading [Purchasing].[Vendor]
(104 row(s) affected)
Loading [Production].[WorkOrder]
(72591 row(s) affected)
Loading [Production].[WorkOrderRouting]
(67131 row(s) affected)
** An error was encountered during execution of batch. Exiting.
There are some problems with two of the tables in the installation script at the CodePlex site.
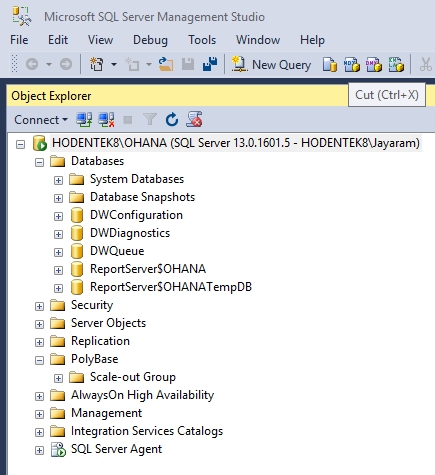
Here is the Object Explorer displaying the installed database:

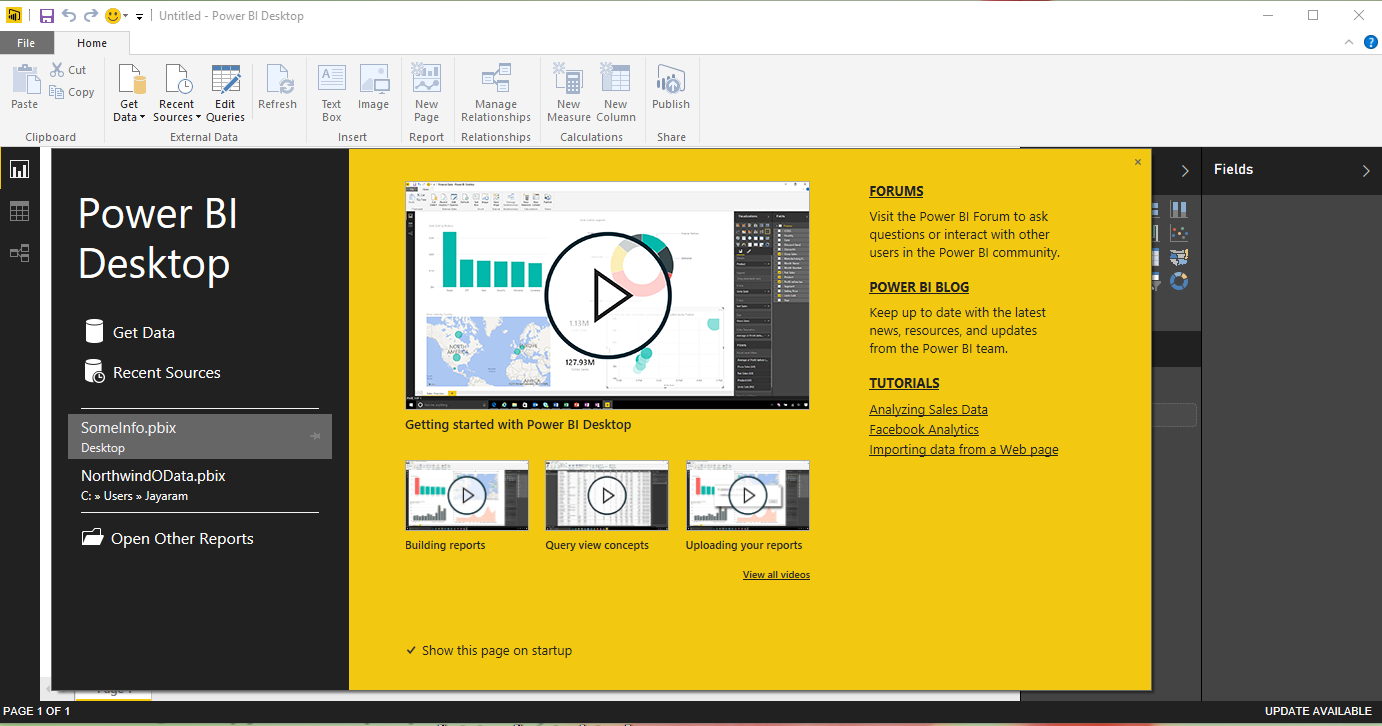
 PowerBI_00
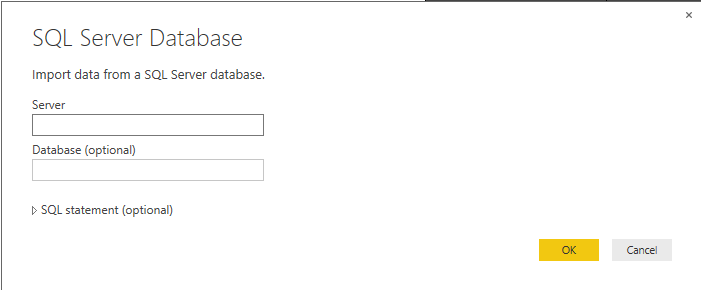
 PowerBI_01
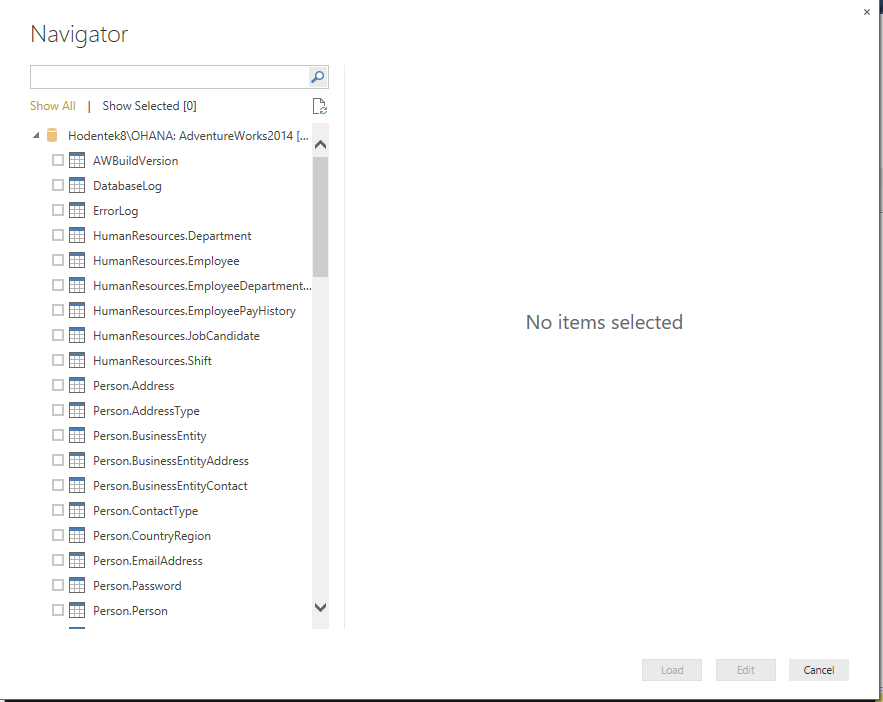
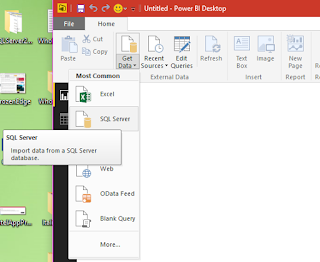 PowerBI_02


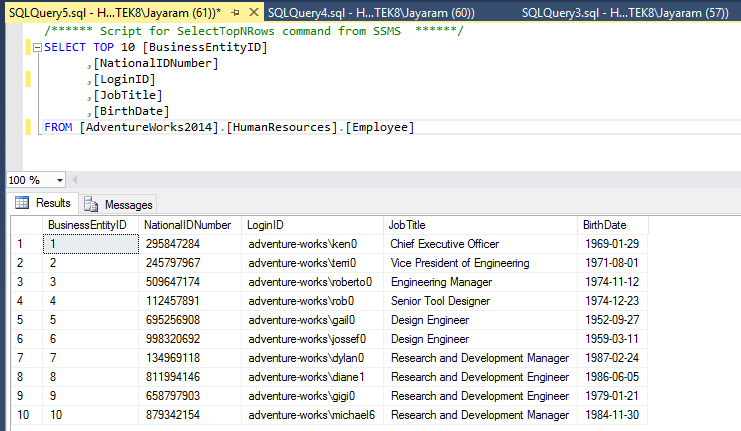
 PowerBI_07