You have seen how to export a data-tier application of a database in SQL Server 2012. In fact, we exported one of the oldest of Microsoft's Sample Databases, the TestPubs. We also saw some limitations in this process of export due to incompatible data, although we have not fathomed as yet what type of data is incompatible.
When the process of export succeeds you create a .bacpac file which can be saved either to a local drive or to Microsoft Azure SQL Database. In our previous export we exported a TestPubs.bacpacfile from TestPubs database to the local drive.
In this post, you will see how you can import it into a higher version of SQL Server, SQL Server 2016.
Start up the named instance of SQL Server 2016. You can see that the server has no user database presently except the one we created recently (AdventureWorks2014).
ImportDT_07
Make a right click on the Databases node in SQL Server 2016 as shown.
ImportDT_00
Click on Import Data-tier Application... submenu to launch the import wizard's Introduction page as shown. Read the instructions on this page.
ImportDT_01
Click Next to display the Import Settings page. Click on the ellipsis button to browse the default page where the .bacpac files are stored as shown.
ImportDT_02
The file enters the processing by the wizard as shown.
ImportDT_03
Click Next to display the Database Settings page. The deployment is targeted to the SQL Server 2016 and .mdf and .ldf files are created. You can change the database name and herein it remains unchanged.
ImportDT_04
Click Next to display the Summary page as shown - Deployment details, file and target as shown.
ImportDT_05
Click Finish. There is little bit of processing activity as shown.
ImportDT_06
The operation has succeeded as shown.
ImportDT_08
The TestPubs database is now found in SQL Server 2016 (you may need to Refresh the Databases node).
ImportDT_09
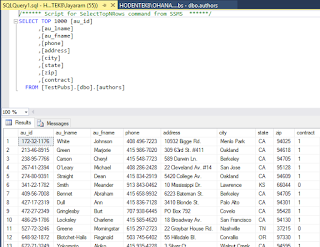
The data has also entered the database as shown in one of the queries on the TestPubs in SQL Server 2016.
ImportDT_10
Well. It is quite simple and not a line of code is needed!


No comments:
Post a Comment