You could get to install a free version of SQL Server Express 2012 without an expiry date but it is not like using all the features available in a Enterprise edition. You could get a few more things in SQL Server 2012 if you install the Express edition with Advanced features. You may also get a Enterprise edition for free, but it is limited for 120 days. What do you do after 120 days, put your system clock back?
The better choice is SQL Server 2012 Developer edition and it has all the features of an Enterprise edition. The downside is you will have to pay for it. It can cost anywhere from $30 to $60 depending on the source. I have had problems with the evaluation editions before and I decided to go for Developer edition.
Some details are here as to where you can download:
http://hodentek.blogspot.com/2014/07/developer-editions-are-better-choice.html
It is also a good training software for a group of say, unemployed folks looking to find a job in the area of SQL Servers. They could buy a developer edition (and each member installing the express edition on his/her laptop/desktop) and use it is a group sharing cost and getting very good (on-the job) training working as a group; checking out features that are available, etc. According to Microsoft the full feature set is available in the Developer edition, except that you cannot use it in production.
I have described the installation steps many times and one as recently as this:
http://hodentek.blogspot.com/2012/05/sql-server-express-2012-and-localdb.html
I will only make brief remarks for some of the screen shots. The installation is described in great detail in my two books, the first one with SQL Server 2008 and the second with SQL Server 2012.
Here I started off with a CD that I purchased from Microsoft Store. The installation was on a Toshiba Laptop computer with Windows 8.1 Professional OS with enough memory.
As soon as the CD is ready either open the setup.exe or just let it auto play. The first screen you get is the SQL Server Installation Center. Here on the right you can access a lot of information and if it is the first time click on the links and read as much as possible, especially the hardware and software requirements. This is the planning navigation link you find on the left of the screen
Click on the New Installation.. on the right. You will be installing a new named instance of SQL Server.
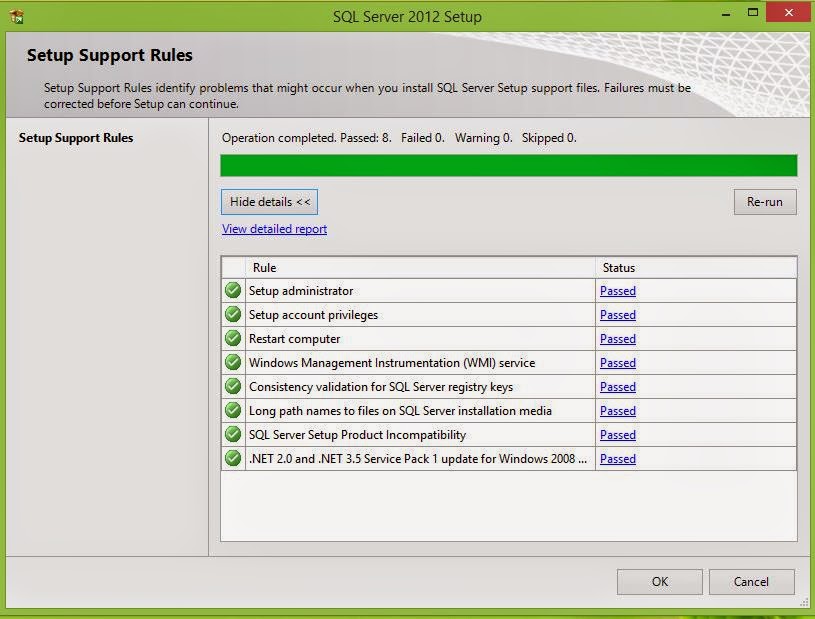
After some processing you will get the Setup Support Rules page where the checks are made. If you do no succeed you may have to full fill the requirements and try again. When it passes all tests you get a screen as shown.
Click OK. Enter the Product Key and click Next>.
Accept the License terms (2 check marks ) and click Next
At this point if there are updates they can be downloaded (assumes you are connected to the Internet ) and installed (after you click Next>).
The following is the link to KB Article of the download.
Read the notes on this page. The setup rules will be checked. Correct them if necessary and click Next>.
If you click on thee link, for example the one or Windows Firewall you get a message as shown.
In the displayed page you will choose a role for the installation. Choose the option (SQL Server Feature Installation) shown in the next screen.
Click Next to display the Feature Selection page shown here. Here all features have been selected. If you click on nay of them, description of what it is, is displayed on the right and the requisites are also shown.
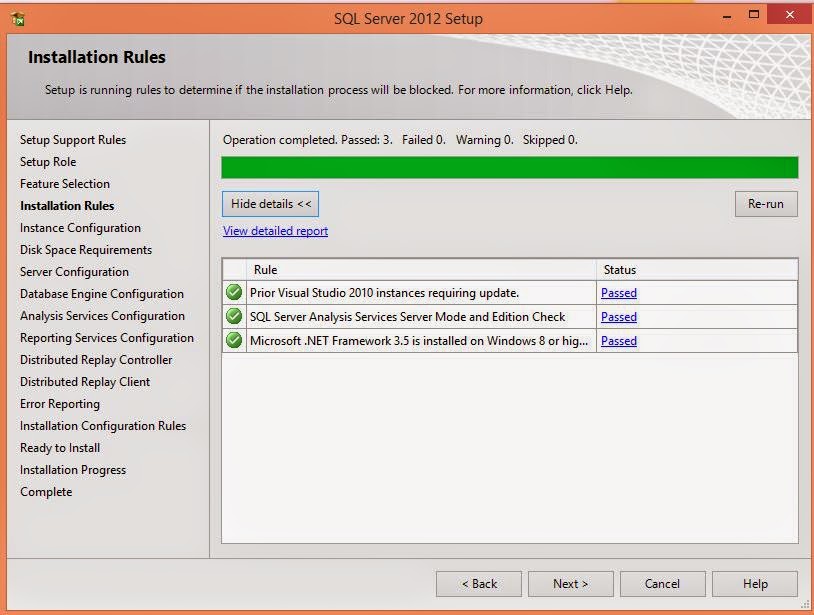
Click Next. Installation rules will be checked as shown. You may consider these as requirements for the installation. If it is lacking you should correct and try again.
Click Next. In the Instance Configuration page you can either create a Named Instance or a Default Instance. For a named instance you can provide your own name. Herein RegencyPark. Some of the text-boxes gets auto filled.
If you had had a previous instance it will show-up in the Installed Instances box. Click Next to find if you have enough resources to install in terms of disk space.
Click Next>. You will have to set up the Server configuration for the various components. Microsoft recommends a separate user/login. However, it is best to use the same account/password for all on a single machine which is going to be used by one or two persons. Moreover such caution is not necessary as it is not a production server.
In this installation the Windows Administrator (who happens to be the Current User) will administer the SQL Server. His user name/password is registered in the computer. You will be better off hitting the <browse..> button to get to the screens shown here to indicate the Window Login is the current user for all the serer components. Hitting Advanced button brings up the screen on the right. Hit on Find Now and get the drop-down shown where you can select.
The Selected User gets added and updates the screen as shown.
Click OK
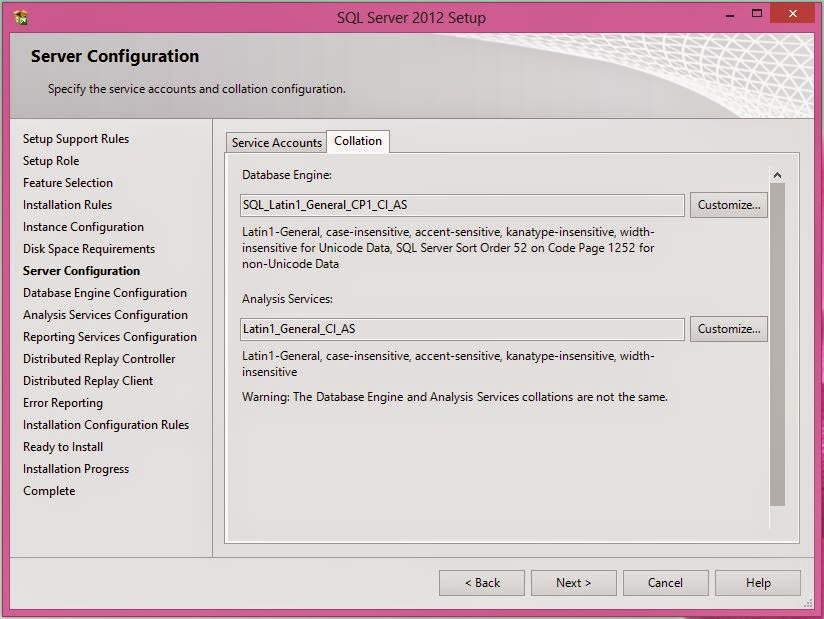
You may have to do this procedure for each of the component that needs username/password. When all of them are set up with username/password click the Collation tab and accept the default.
Click Next to display the Database Engine Configuration page. It has three tabs. In the Server Configuration you need to make the choice of the administrator. Choose Windows Authentication (you could also use the other option, herein the Windows Authentication is chosen). Click Add Current User and the Windows Administrator will be added. You could also add others if they have Windows Login accounts for the computer. You can also remove an existing one. Since this is the first time, only one user is added.
In the Data Directories tabbed page you will see the location of various files and you could change the default locations using the ellipsis buttons on this page.
In the next tabbed page make changes as shown for File Stream.
Click Next>. You will added the same administrator for Analysis Services similar to what you carried out earlier. Clicking on Add Current User will suffice. There are two modes from which you need to choose one. Herein the Multidimensional and Data Mining Mode is chosen. The SQL Server 2012 Reporting Services book describes in detail these modes of Analysis Services.
The Data Directories tabbed page show where the files are stored and they can be changed as well if necessary.
Click Next. brings you to the Reporting Services configuration page. Choose the option shown. Again the different options for reporting services is described in great detail in the two books whose links were provided earlier.
Click Next and accept the default. Add Current User.
In the Distributed Replay Client page provide a name for the controller (your choice).
Click Next. and accept to allow Microsoft get access to some information. This is pretty safe.
Click Next. The Installation Configuration rules will be checked to make sure that there are no blocking issues.
Click Next and you will see the various components\ sub-components that will be installed.
Click Install and the Installation Progress screen is displayed. This may take quite some time and do not pull out.
Finally you get the installation success page as shown.
In Part 2: Installation verification


